Download Agreement, Release, and Acknowledgement of Risk:
You (the person requesting this file download) fully understand mountain climbing ("Activity") involves risks and dangers of serious bodily injury, including permanent disability, paralysis, and death ("Risks") and you fully accept and assume all such risks and all responsibility for losses, costs, and damages you incur as a result of your participation in this Activity.
You acknowledge that information in the file you have chosen to download may not be accurate and may contain errors. You agree to assume all risks when using this information and agree to release and discharge 14ers.com, 14ers Inc. and the author(s) of such information (collectively, the "Released Parties").
You hereby discharge the Released Parties from all damages, actions, claims and liabilities of any nature, specifically including, but not limited to, damages, actions, claims and liabilities arising from or related to the negligence of the Released Parties. You further agree to indemnify, hold harmless and defend 14ers.com, 14ers Inc. and each of the other Released Parties from and against any loss, damage, liability and expense, including costs and attorney fees, incurred by 14ers.com, 14ers Inc. or any of the other Released Parties as a result of you using information provided on the 14ers.com or 14ers Inc. websites.
You have read this agreement, fully understand its terms and intend it to be a complete and unconditional release of all liability to the greatest extent allowed by law and agree that if any portion of this agreement is held to be invalid the balance, notwithstanding, shall continue in full force and effect.
By clicking "OK" you agree to these terms. If you DO NOT agree, click "Cancel"...
Longs Peak via Keyhole Ridge (5.5-5.6) and Cables (5.4)
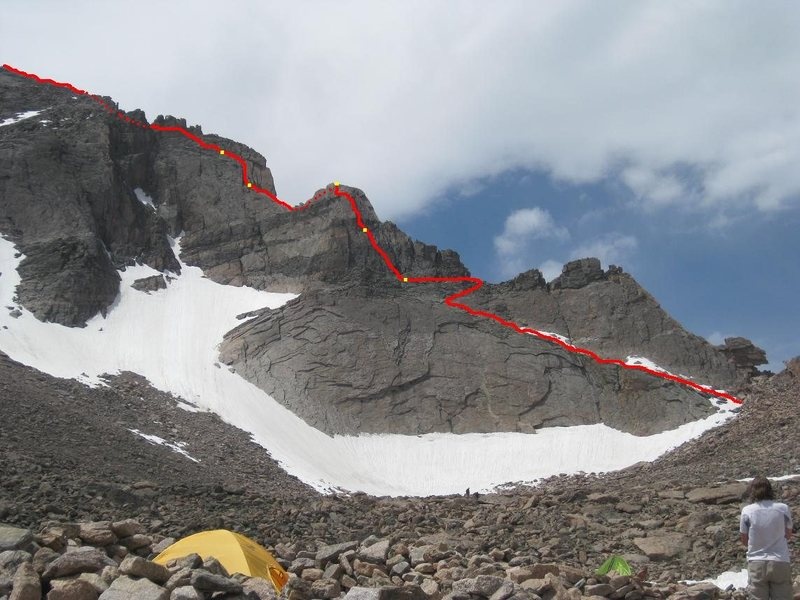
The best prep I found prior to this climb was Lisa Foster's video and Steph Abegg's excellent topos. We had a total of 4 belay stations, similar to this one from Mountain Project, but we opted to not use the last belay station (furthest left).
Route - credit to Steph AbeggBelay Stations
A friend had a Boulder Field permit with the intention of summiting Longs via a new route, Keyhole Ridge. So we hiked in Friday afternoon and set up camp. The creek was running, but finding a viable area to refill took a bit of work. The best spot to refill is before the camp sites where the stream is wide and obvious. We ended up filling further up the boulder field, but not too far from camp. The next morning, we headed up to the Keyhole for a quick view of McHenry's. We started across the 4th class ledges around 6:30am. We were at the False Keyhole by ~7am.
At the False Keyhole
At the base of the 5.4 pitch, there's a pretty wide staging area, and even though the beginning looked inviting to solo it made more sense to rope up here. The climbing did get tougher towards the top, so it was nice to be on a rope. After we topped out on the first 5.4 section, there's an option to switch over to the West side for a 4th class variation, but we continued up the East side and headed up another 5.4 pitch.
5.4 pitch
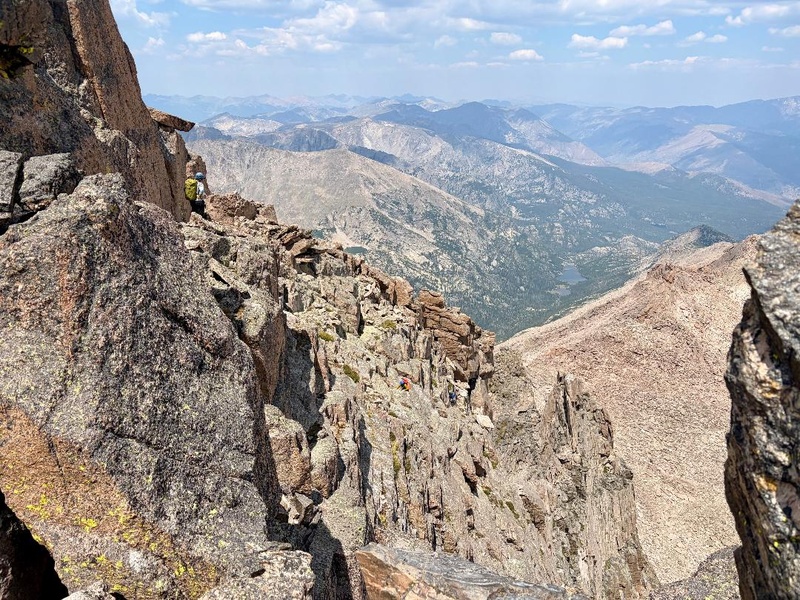
At the top of a fin is where the downclimb crux is. It's not a huge drop (~8ft) and if the boulder blocking the exit wasn't loose it wouldn't be a bad down climb. And in fact, there were plenty of people soloing that day that managed to down climb it. But it's position makes it a natural spot to want to grab. If it were to fall, it's going straight down the standard route onto The Ledges. The wall directly below the boulder isn't very featured either. There is a cordelette above the boulder that appears to be a hand line. We opted to rap this short section.
Loose boulder - centerDownclimbLooking back on the downclimb - climbers descending
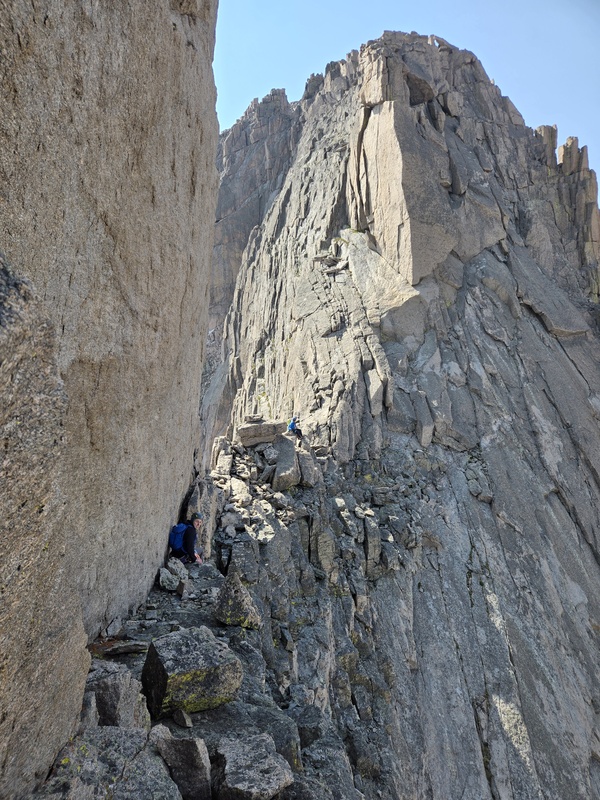
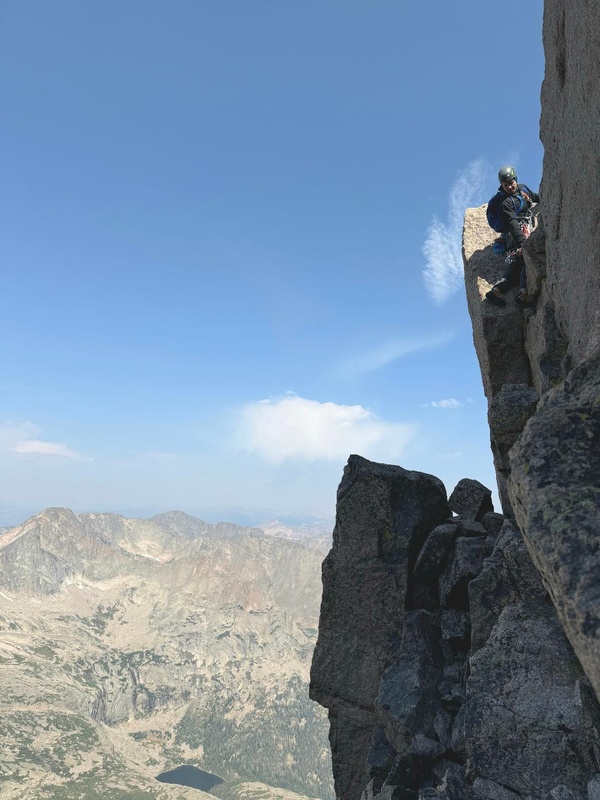
This immediately leads to the class 4 ledge on the west side, followed by an easy ramp that puts you at the base of the 5.5/5.6 pitch. One of our climbers started up the face while the rest of us chose to start on the arete before transitioning over to the face. I noticed a couple of soloers traverse the face about 20ft before heading up. As we got higher up the route, we started to angle slightly left under 2 diving board shaped rocks somewhere near the ridge. The climbing difficulty eases as the route traverses the face. We stopped when we reached an area with an 8ft crack. 2 of our climbers decided to continue traversing and found an exposed but easy route towards the ridge, while my partner and I went up the crack. I was able to get in 3 good steps which got me high enough to reach the top and mantle up. This move was pretty fun and I'd recommend giving it a go. From here we were able to stop using the rope.
Class 4 ledgeRamp leading to next pitch5.5-5.6 pitch
After this was a nice easy ledge leading to a 4th class chimney, followed by a series of easy ledges. This is where we transitioned back to trail runners. Then there was one final section with a 4th class chimney on climbers left or a ramp that went right and at class 3. From here it's class 2 to the summit.
Ledge system above the last pitch
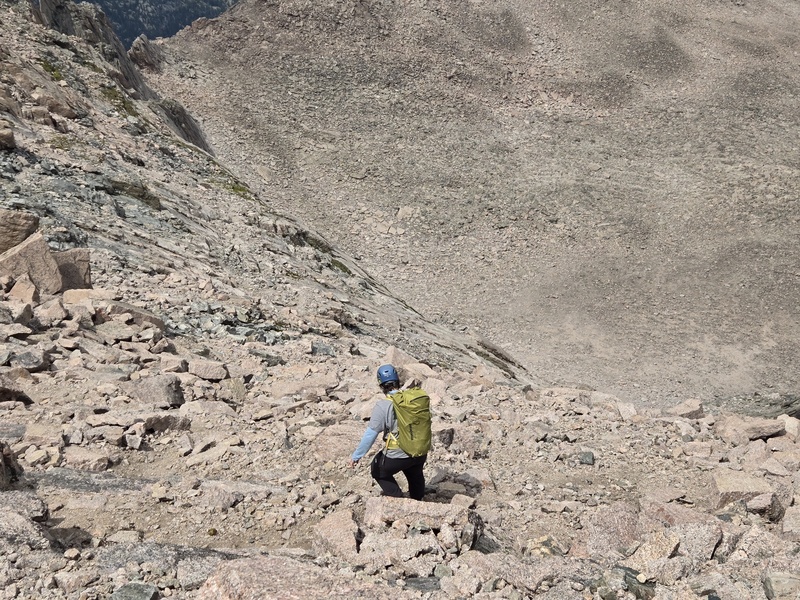
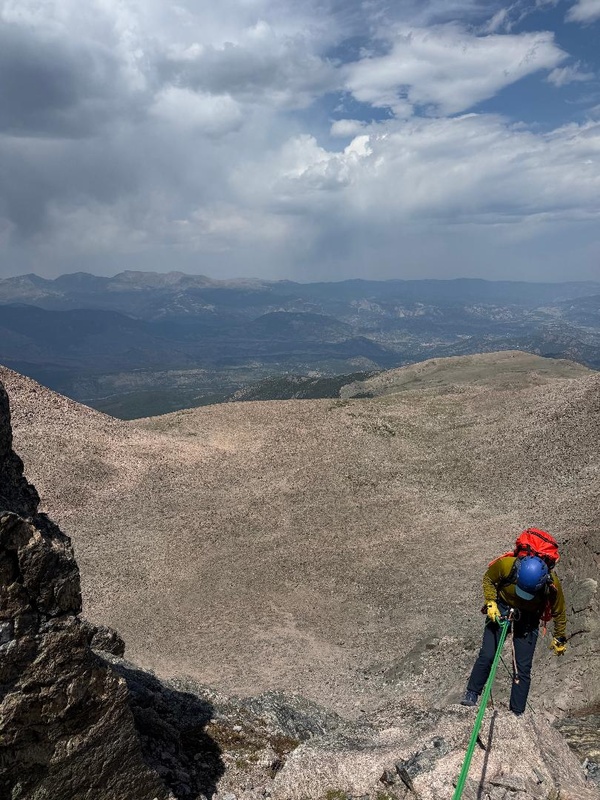
For our descent, we took the Cables route. There was a faint trail leaving the summit but it's mostly choose your own. There are grass ledges off in the distance that are a good target to aim for. We eventually came across the first eyebolt, from the eyebolt you can clearly see the second eyebolt. So we scrambled down to the second and used the 60m rope to descend this section. At the bottom, I made it down a slick ramp to get to the third eyebolt where we set up our final rappel with a 50m rope, that just reached the bottom.
Descending towards the CablesRappel 1Rappel 2
Second eyebolt location according to GPS (40.25698, -105.61657).
Eyebolt location for Rap 1
Trail Stats: 16.32mi, 5182ft
Thumbnails for uploaded photos (click to open slideshow):
Comments or Questions
Caution: The information contained in this report may not be accurate and should not be the only resource used in preparation for your climb. Failure to have the necessary experience, physical conditioning, supplies or equipment can result in injury or death. 14ers.com and the author(s) of this report provide no warranties, either express or implied, that the information provided is accurate or reliable. By using the information provided, you agree to indemnify and hold harmless 14ers.com and the report author(s) with respect to any claims and demands against them, including any attorney fees and expenses. Please read the 14ers.com Safety and Disclaimer pages for more information.
Copyright: Route information, text, risk factors, maps, GPX files, charts, photos, 14ers.com-created map imagery, flythroughs, and other content provided in this route description are copyrighted by 14ers.com and may not be copied, reproduced, republished, distributed, modified, or used to create derivative works without prior written permission.
Please respect private property: 14ers.com supports the rights of private landowners to determine how and by whom their land will be used. In Colorado, it is your responsibility to determine if land is private and to obtain the appropriate permission before entering the property.